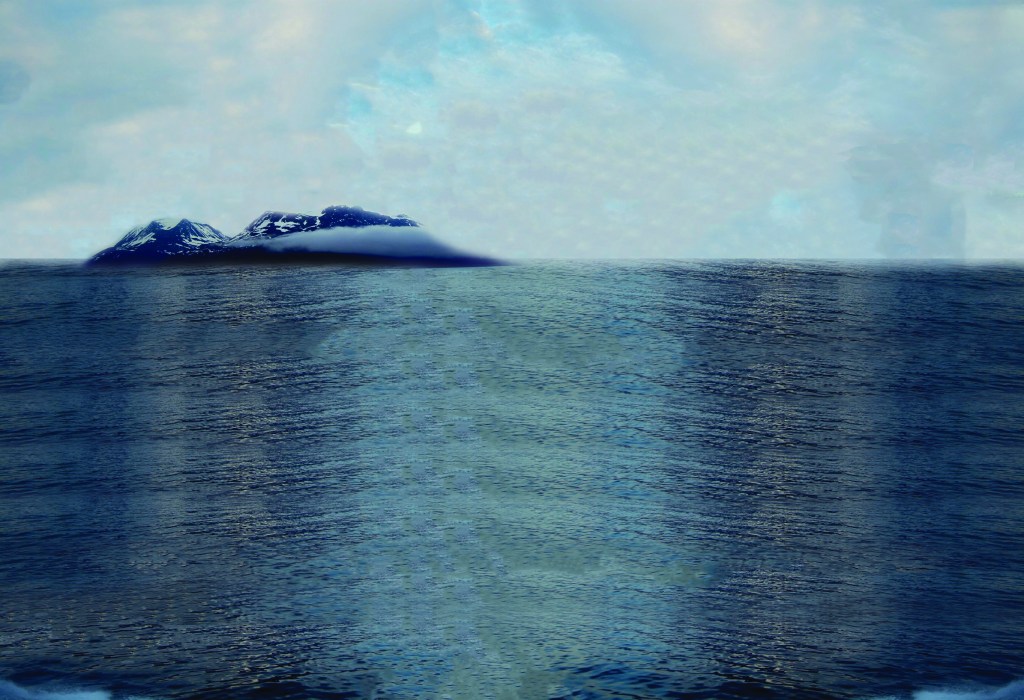
In this first progress image, I took the original background and cropped out the mountains and pushed them off to the side by selecting them out of the background and moving them over. The image itself was too small to fit the page so I had to paste multiple copies for it to fit, and I blended the copies together with the spot healing brush tool. I then made it so that the water went higher up and took up more space in the composition and I used the same technique of copying and pasting and blending to do so. Although I didn’t like how the water looked because you could see the lines of where each image starts and ends.
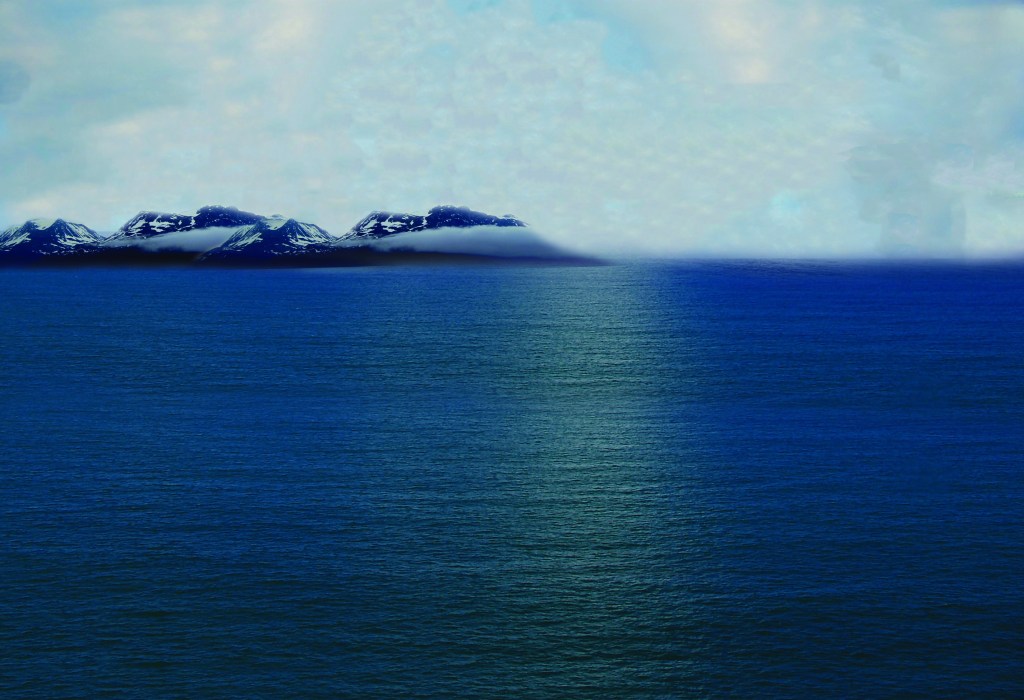
In this progress image I brought in another photo of the ocean which fit the page a lot better, but I still had to paste a few copies to fit how I liked it. This time the images were a lot easier to blend and the water ended up looking a lot more realistic.
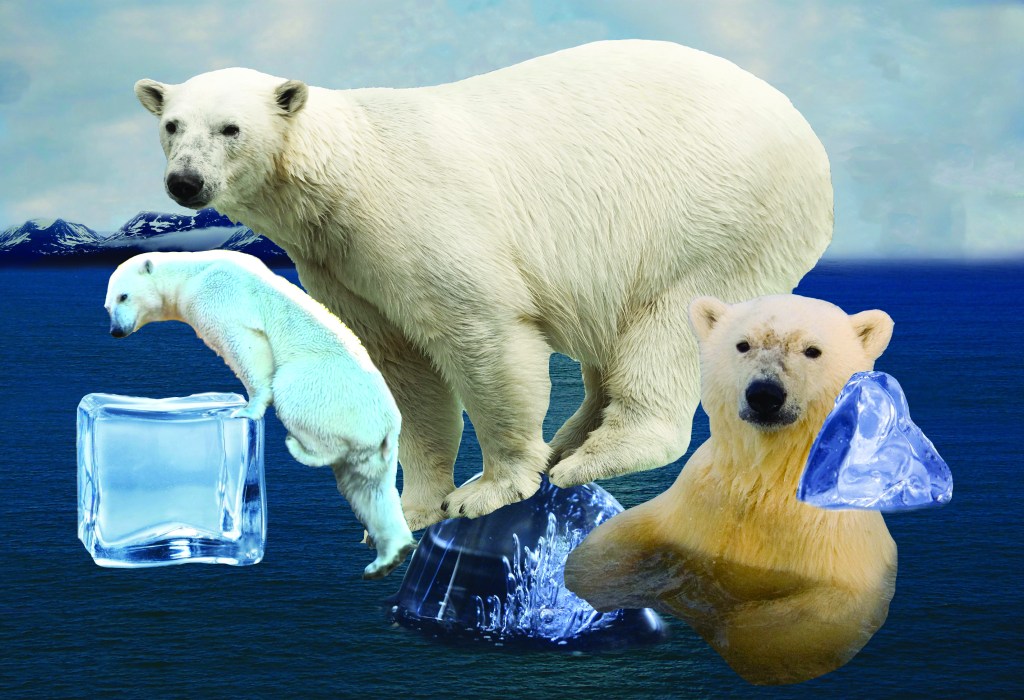
Next, I selected all of my other images and cut them out how I wanted them using the magnetic lasso tool. I brought them into my background but didn’t arrange them how I wanted them to look in my composition yet.
Lastly, I moved and sized all of my images to how I wanted them to look using the transform tool. I used paths to make the bears look more like they were actually in that environment. For the polar bear in the center, I used the puppet warp tool to reshape the bear to make it look like he is actually standing on the ice cube. I also used the layer modes to make it so that the ice cubes and bears looked like they were really in the water.

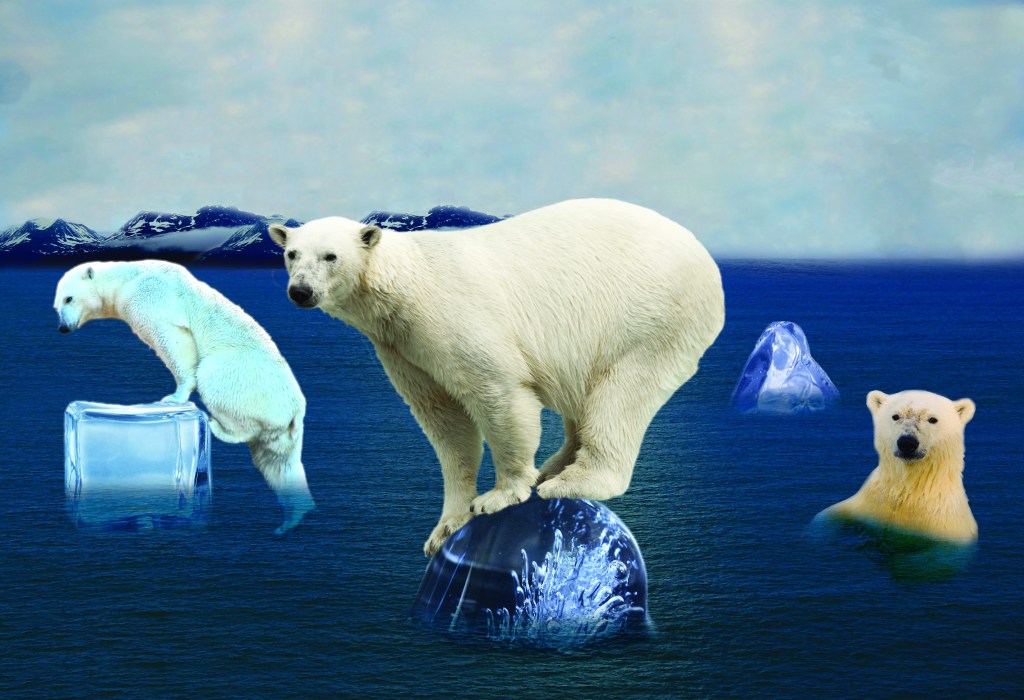
For the final product, I added another polar bear and moved one over closer to the middle. I also added some ice cubes in the back and some birds in the sky. I used the channels to cut out the birds. I was not happy with how the sky was looking so I put in a new sky instead. I also adjusted the brightness higher in the image because I felt like it was looking too dark.
